
Simple design of Mehndi, also known as henna, is a traditional form of body art that has been practiced for centuries in various cultures, particularly in South Asia, the Middle East, and North Africa. It’s applied during festive occasions, weddings, and celebrations to adorn the skin with intricate patterns. For those new to mehndi or looking for simpler designs, this guide provides a starting point.
Table of Contents
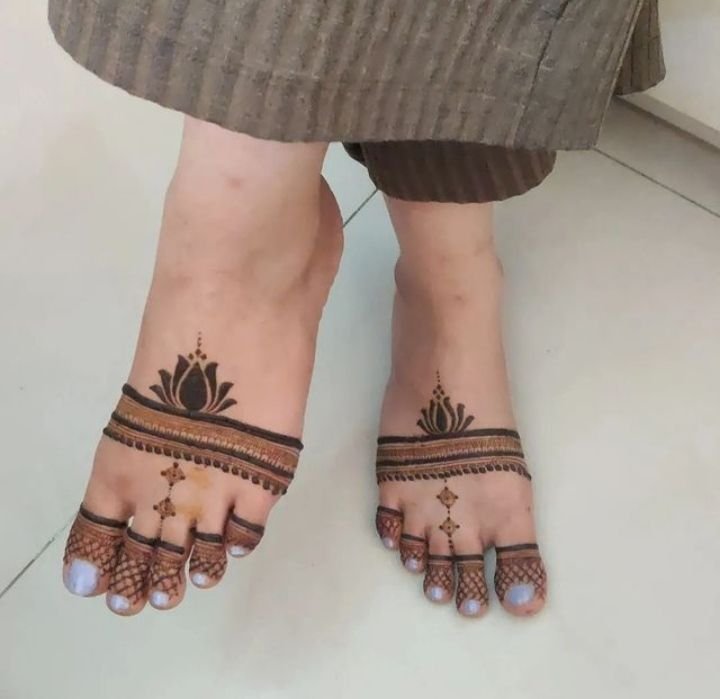
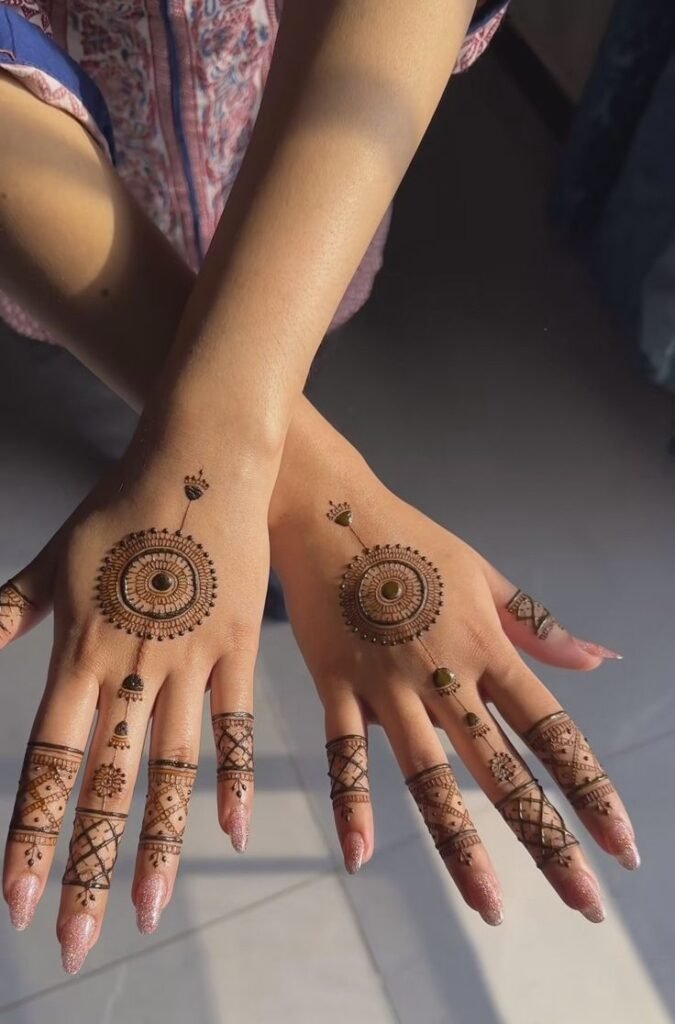
Simple Design of Mehndi Best Pictures

Simple Design of Mehndi

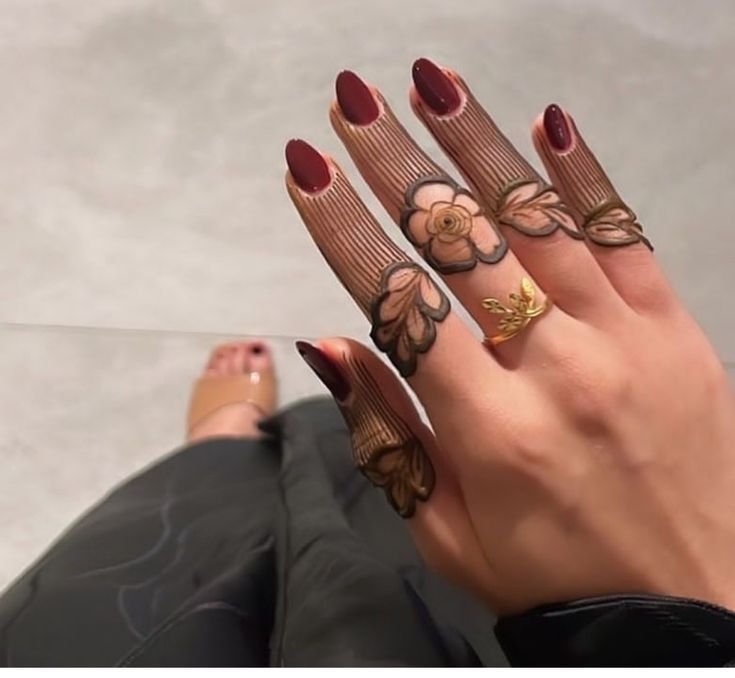
Simple Design of Mehndi

Simple Design of Mehndi

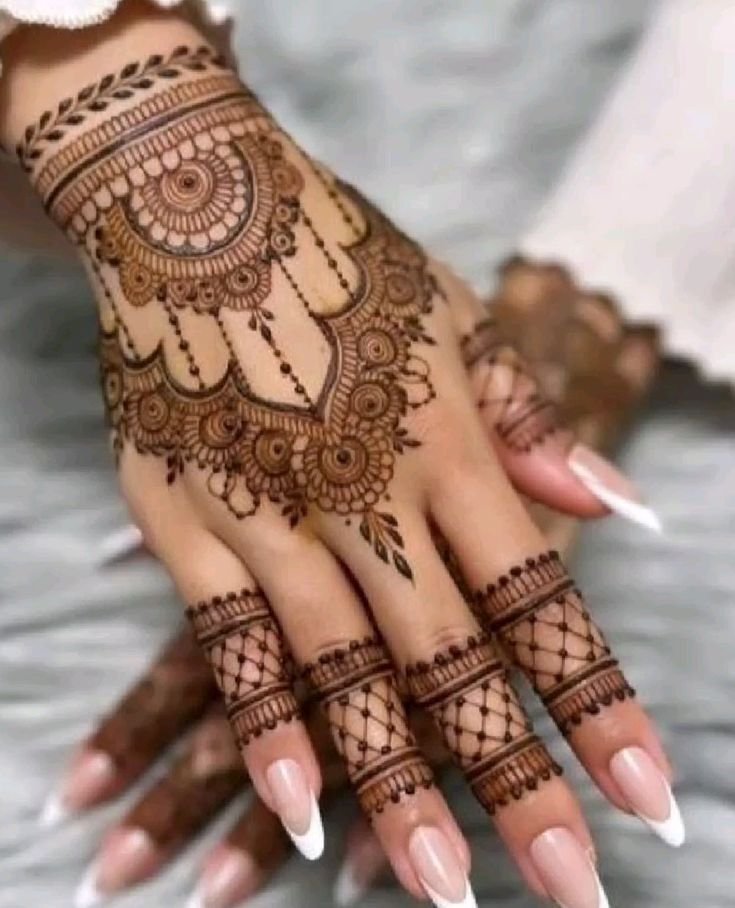
Simple Design of Mehndi

Simple Design of Mehndi

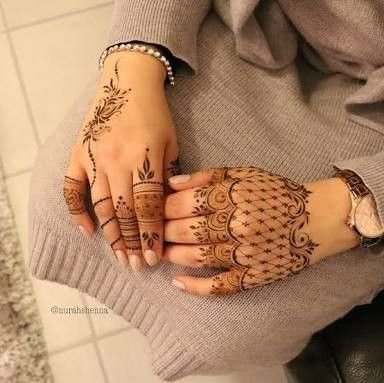
Simple Design of Mehndi

Simple Design of Mehndi


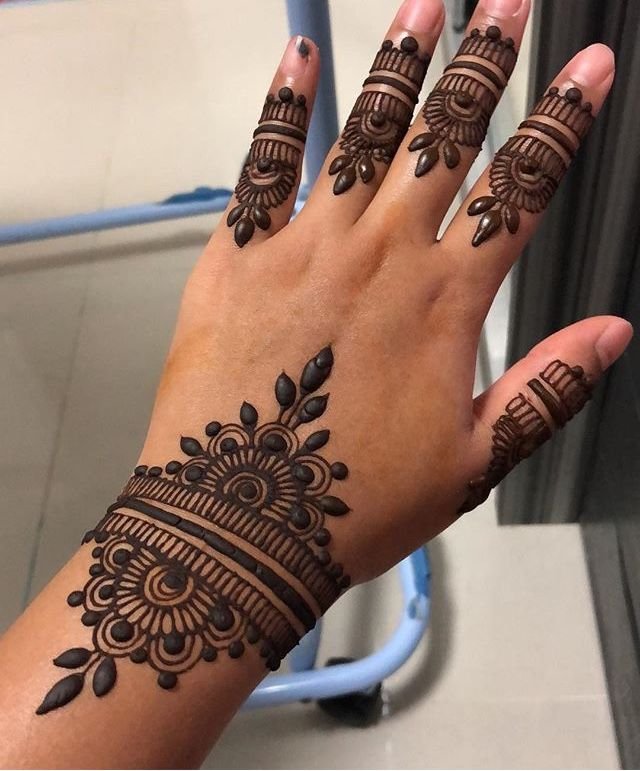
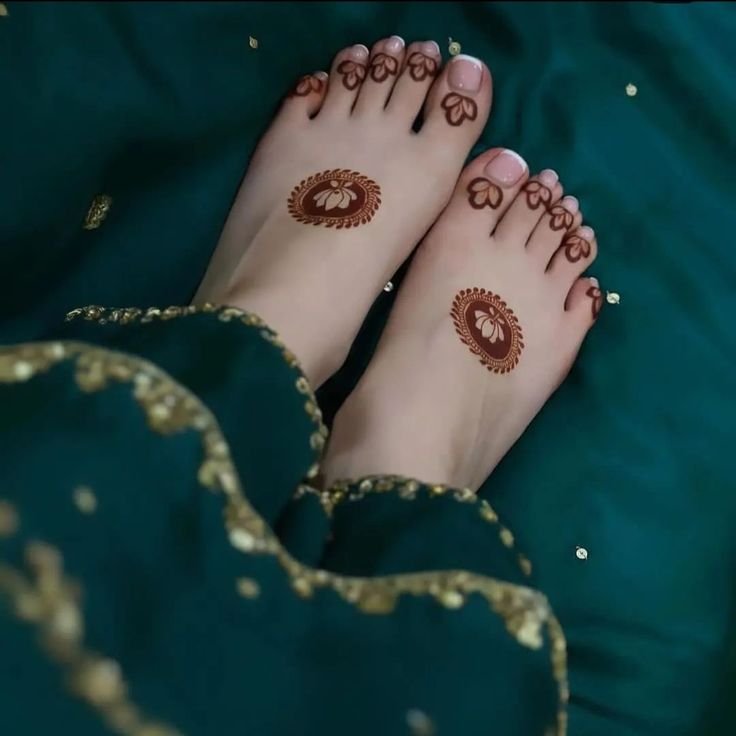
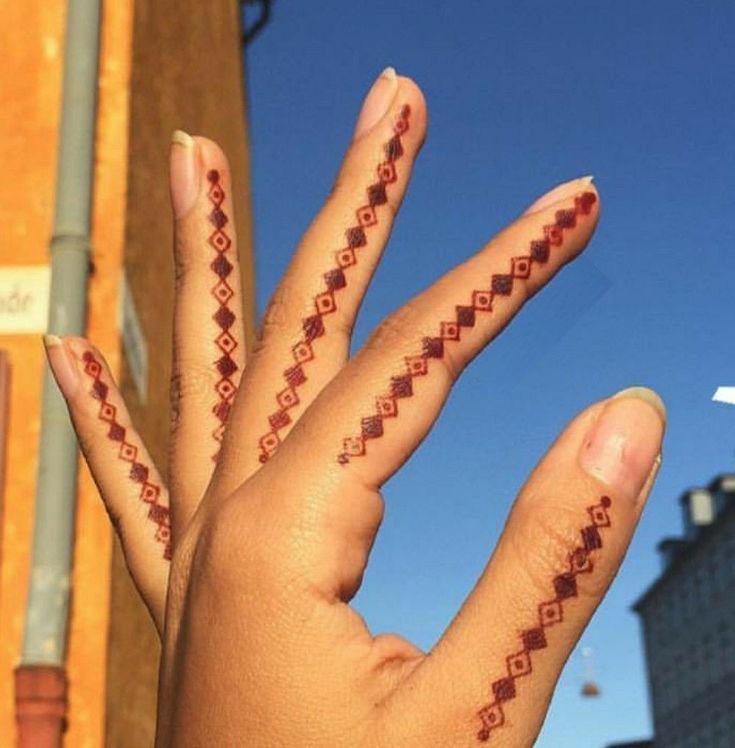
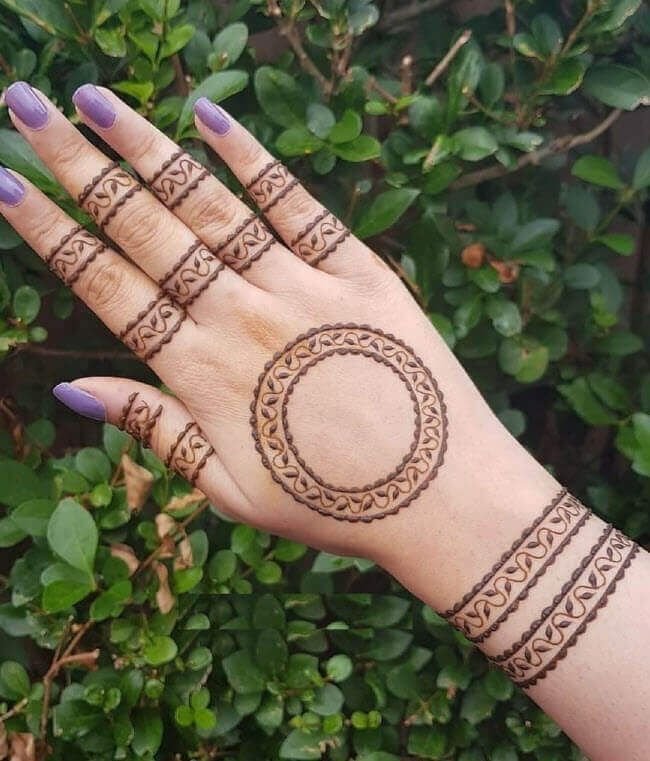
simple mehndi designs

simple mehndi designs

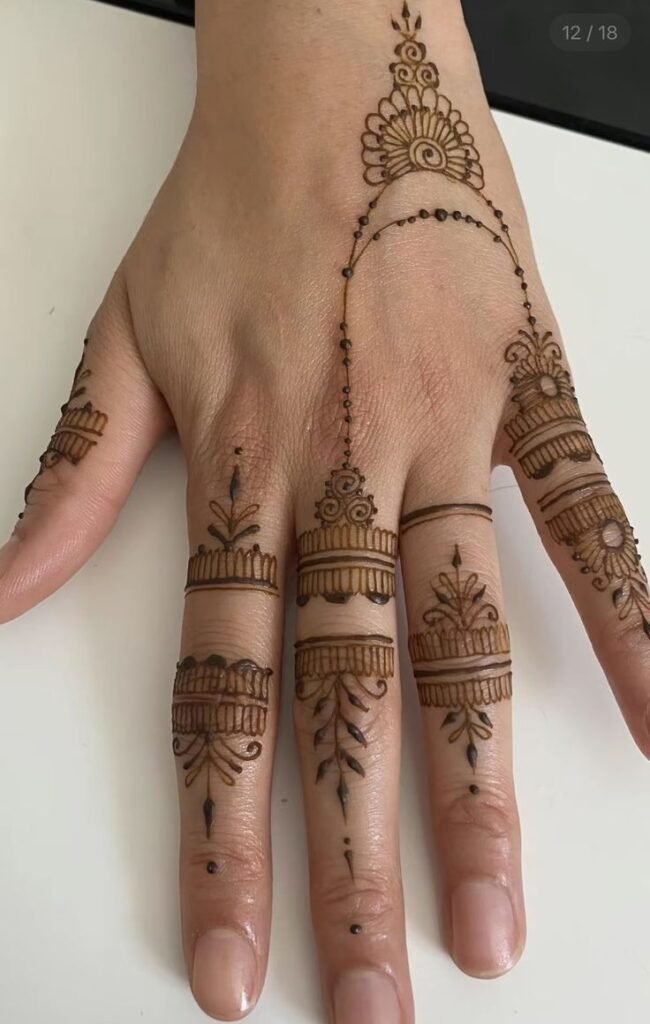
simple mehndi designs

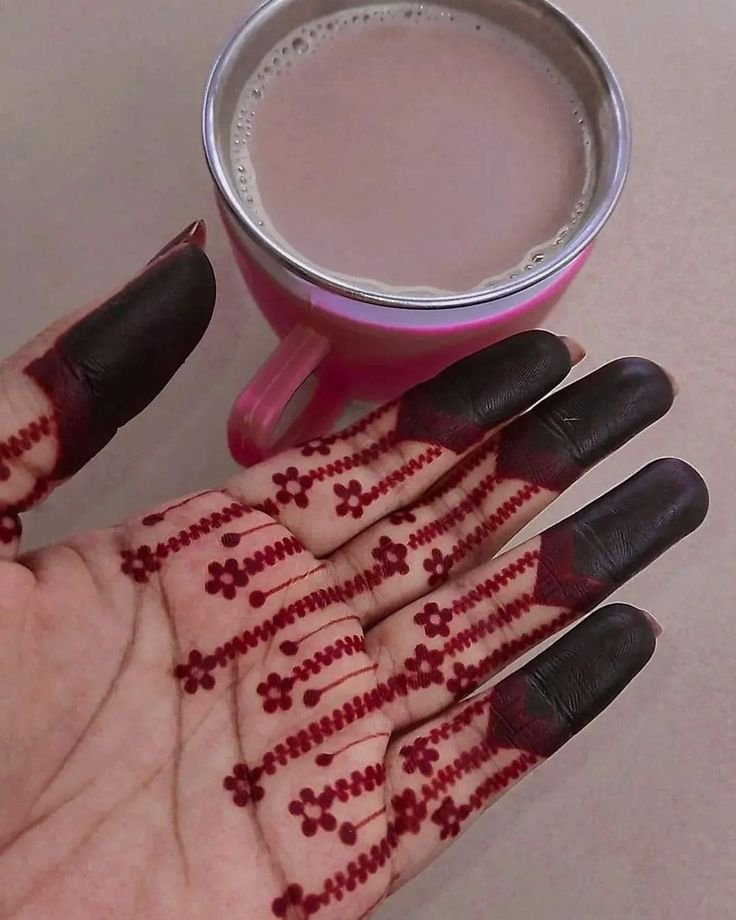
simple mehndi designs

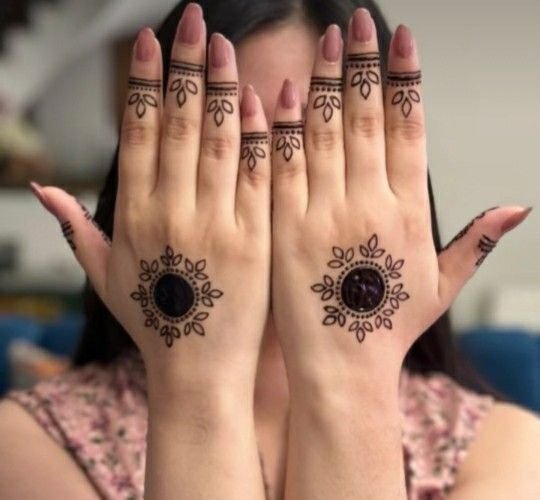
simple mehndi designs

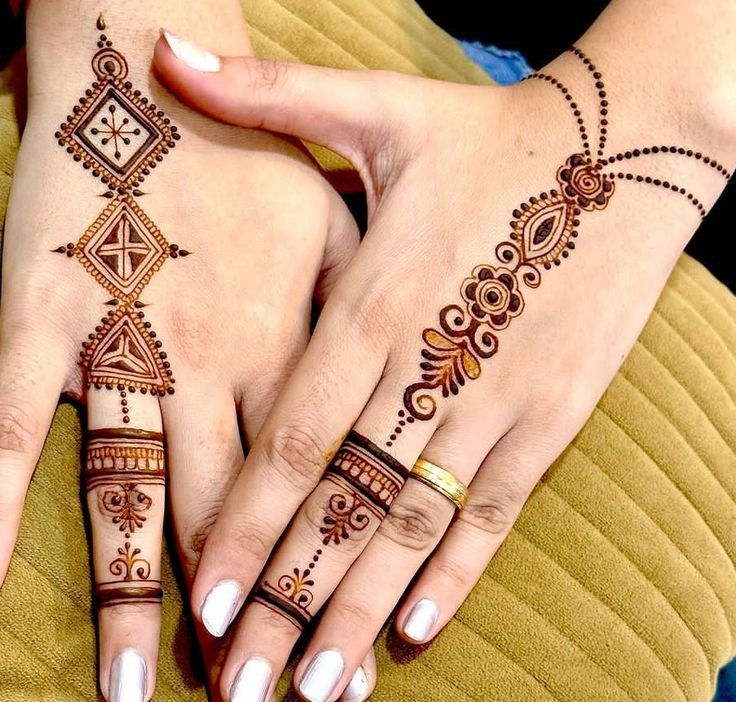
simple mehndi designs

simple mehndi designs

History and Significance of Mehndi
Mehndi has a rich history and cultural significance. It is believed to have originated in ancient Egypt, where it was used to stain the fingers and toes of Pharaohs. Over time, it spread to India, the Middle East, and other regions. In many cultures, mehndi symbolizes joy, beauty, and spiritual awakening. It is an integral part of weddings and festivals like Diwali, Eid, and Teej.
Materials Needed
To create simple mehndi designs, you’ll need the following materials:
- Henna Cone: Pre-made cones filled with henna paste are easily available in markets or online.
- Lemon-Sugar Solution: This is used to keep the mehndi moist and enhance color.
- Tissue Paper or Cloth: For cleaning and correcting mistakes.
- Design Templates or Stencils (optional): These can help beginners create precise patterns.
Basic Steps for Applying Mehndi
- Preparation: Wash and dry your hands or the area where you plan to apply mehndi.
- Design Selection: Choose a simple design to start with. You can refer to design books or online resources for inspiration.
- Application: Start applying the mehndi from the cone in small, controlled strokes. Begin with simple shapes like dots, lines, and circles.
- Drying: Allow the mehndi to dry naturally. This usually takes 30 minutes to an hour.
- Post-Application Care: Once dried, apply a lemon-sugar solution to enhance the color. Leave the mehndi on for at least 6-8 hours before scraping it off.
Simple Mehndi Design Ideas
- Floral Patterns: Flowers are a common motif in mehndi designs. Start with a simple flower in the center of the palm and extend with leaves and dots.
- Geometric Shapes: Triangles, squares, and circles can be combined to create elegant patterns.
- Mandala Designs: Mandalas are circular designs that can be made simple by starting with a small circle and adding layers around it.
- Vines and Leaves: Draw a vine that curls around the fingers or wrist with small leaves branching out.
- Minimalist Designs: For a modern look, opt for minimal designs like a single strip of pattern across the wrist or a small design on the back of the hand.
Tips for Beginners
- Practice: Start with simple designs and practice on paper before applying on skin.
- Steady Hands: Ensure your hands are steady to create clean lines. Practicing yoga or hand exercises can help improve steadiness.
- Mistake Correction: Use a toothpick or tissue to correct small mistakes immediately.
- Patience: Mehndi application requires patience, especially when waiting for it to dry and stain.
मेहंदी का इतिहास और महत्व
मेहंदी का इतिहास बहुत पुराना और समृद्ध है। माना जाता है कि इसका प्रारंभ प्राचीन मिस्र में हुआ था, जहां इसे फिरौन के उंगलियों और पैर की उंगलियों को रंगने के लिए इस्तेमाल किया जाता था। समय के साथ, यह भारत, मध्य पूर्व और अन्य क्षेत्रों में फैल गया। कई संस्कृतियों में मेहंदी खुशी, सुंदरता और आध्यात्मिक जागरूकता का प्रतीक है। यह शादियों और दीवाली, ईद, तीज जैसे त्योहारों का महत्वपूर्ण हिस्सा है।
आवश्यक सामग्री
सरल मेहंदी डिज़ाइन बनाने के लिए निम्नलिखित सामग्रियों की आवश्यकता होती है:
- हिना कोन: बाजार में या ऑनलाइन आसानी से उपलब्ध।
- नींबू-चीनी का घोल: मेहंदी को नम बनाए रखने और रंग को गहरा करने के लिए।
- टिश्यू पेपर या कपड़ा: साफ करने और गलती सुधारने के लिए।
- डिज़ाइन टेम्पलेट या स्टेंसिल (वैकल्पिक): शुरुआती लोगों के लिए सटीक पैटर्न बनाने में मददगार।
मेहंदी लगाने के बुनियादी कदम
- तैयारी: हाथों को अच्छे से धोकर सुखा लें।
- डिज़ाइन चयन: एक सरल डिज़ाइन चुनें। डिज़ाइन बुक या ऑनलाइन संसाधनों से प्रेरणा ले सकते हैं।
- लागू करना: कोन से छोटे, नियंत्रित स्ट्रोक में मेहंदी लगाना शुरू करें। बिंदु, रेखा और वृत्त जैसे सरल आकार से शुरू करें।
- सूखना: मेहंदी को प्राकृतिक रूप से सूखने दें। इसमें आमतौर पर 30 मिनट से 1 घंटा लगता है।
- पोस्ट-लागू देखभाल: सूखने के बाद नींबू-चीनी का घोल लगाएं। मेहंदी को कम से कम 6-8 घंटे तक लगा रहने दें, फिर इसे खुरच कर हटा दें।
सरल मेहंदी डिज़ाइन के विचार
- फूलों के पैटर्न: फूल मेहंदी डिज़ाइन में आमतौर पर उपयोग किए जाते हैं। हथेली के केंद्र में एक सरल फूल से शुरू करें और पत्तियों और बिंदुओं से इसे विस्तारित करें।
- ज्यामितीय आकार: त्रिकोण, वर्ग और वृत्त को मिलाकर सुंदर पैटर्न बना सकते हैं।
- मंडला डिज़ाइन: मंडला गोलाकार डिज़ाइन होते हैं जो छोटे गोलाकार से शुरू होते हैं और परतों को जोड़ते हैं।
- बेलें और पत्तियाँ: उंगलियों या कलाई के चारों ओर एक बेल खींचें जिसमें छोटे पत्ते हों।
- मिनिमलिस्ट डिज़ाइन: आधुनिक लुक के लिए, एकल पट्टी या छोटे डिज़ाइन का चयन करें।
शुरुआती लोगों के लिए टिप्स
- अभ्यास: सरल डिज़ाइन से शुरू करें और पहले कागज पर अभ्यास करें।
- हाथों की स्थिरता: स्वच्छ रेखाओं के लिए हाथों को स्थिर रखें। योग या हाथ के व्यायाम मदद कर सकते हैं।
- गलती सुधार: छोटी गलतियों को तुरंत ठीक करने के लिए टूथपिक या टिश्यू का उपयोग करें।
- धैर्य: मेहंदी लगाना धैर्य की आवश्यकता होती है, खासकर सूखने और रंगने के लिए।
निष्कर्ष
मेहंदी एक खूबसूरत कला है जिसे कोई भी सीख सकता है और आनंद ले सकता है। सरल डिज़ाइन से शुरू करने से आत्मविश्वास और कौशल बढ़ाने में मदद मिलती है। जैसे-जैसे आप अभ्यास करते हैं, आप धीरे-धीरे और जटिल पैटर्न पर आगे बढ़ सकते हैं। चाहे विशेष अवसर के लिए हो या सिर्फ मनोरंजन के लिए, मेहंदी आपके रूप में परंपरा और सुंदरता का स्पर्श लाता है।
Conclusion
Mehndi is a beautiful art form that can be enjoyed by beginners and experts alike. Starting with simple designs helps in building confidence and skill. As you practice more, you can gradually move on to more intricate patterns. Whether for a special occasion or just for fun, mehndi brings a touch of tradition and elegance to your look.
Example Simple Mehndi Design
While it’s challenging to illustrate without a visual, here’s a textual description of a simple mehndi design you can try:
- Start: Begin with a small flower in the center of your palm.
- Extend: Draw vines extending from the flower towards your fingers.
- Add Details: Add small leaves and dots along the vines.
- Fingers: Draw a small geometric shape or flower on the tips of each finger.
For a more detailed guide and visual references, consider referring to online tutorials or mehndi design books available at bookstores or libraries.
Follow us Pinterest